In addition to a local backup it is a good idea to set up an online/remote/off-site backup to protect your data from fire/theft/flood or any other disaster which would destroy a local backup. There are several online backup providers which offer a free starter package (usually 2GB), and then more storage space for a nominal monthly fee. Here is a step-by-step to set up MozyHome’s free backup service.
Go to www.mozy.com/home and click on the sign up button for MozyHome Free.
Enter your email address, and set a password.
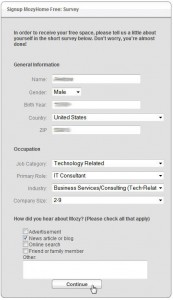
Mozy requires that you take a basic survey, you don’t need to put your actual information if you don’t want to, but all the fields are required to be completed.
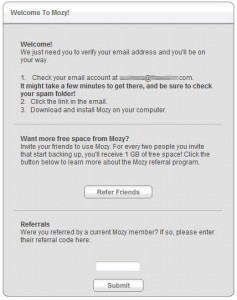
Your account is created, now check your email for a verification email from Mozy, make sure to check your spam/junk box just in case.
When you open the Mozy email, click on the link to verify your account, and download the Mozy client.
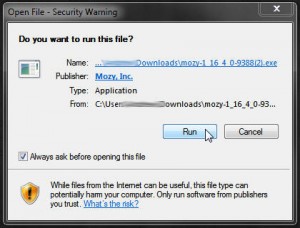
Download the Mozy client, for your operating system (either Windows or Mac). Save the file to somewhere you can easily access, like the desktop. If prompted, Run the Mozy installer.
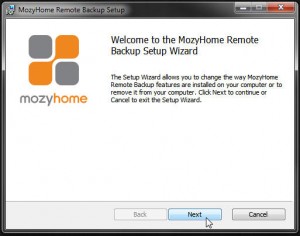
Ok, almost there, click the Next button to install Mozy.
Enter the email address and password that you used when you created your Mozy account.
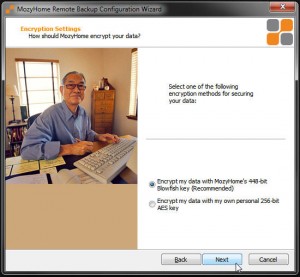
All data uploaded to Mozy is heavily encrypted to protect your data. Mozy gives you the option to either use their default encryption key, or use your own key. It is highly recommended that you use Mozy’s encryption key.
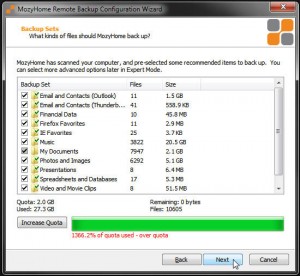
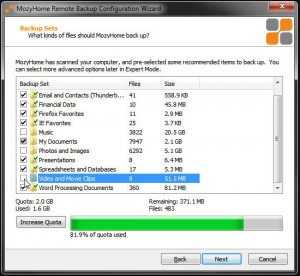
Now you can choose which files you want to backup. As you can see, Mozy automatically tries to backup all files on your computer, which is a good thing, but in this case I want to limit my backup to 2GB so that my Mozy service remains free. Uncheck which files you do not want to backup, in this case I chose not to backup my music and photos. After your files are under the 2GB free limit, click Next.
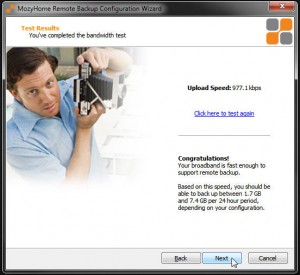
Mozy will then test your Internet connection to ensure that you have the minimum amount of bandwidth to upload all your files. If you have a DSL, cable, or wireless 4G type connection, then you should have no problem passing this test.
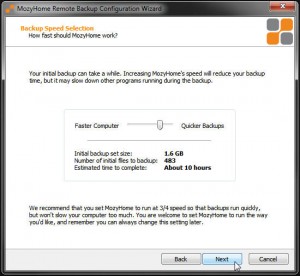
The next screen allows you to choose how fast your backup will happen. Basically, this slider allows you to choose how much of your system resources Mozy can use to backup your data. Move the slide closer to Faster Computer, and Mozy will limit how much processor and bandwith it will use. This will keep your computer faster during a backup, but the backup will take longer. Move the slider closer to Quicker Backups and Mozy will take up more processor and bandwidth, but your backups will happen quicker.
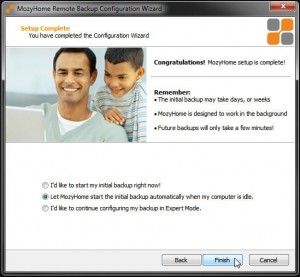
And that’s it! You have completed configuring Mozy to remotely backup your data. You now have the choice to let Mozy start the backup immediately, or let it run when your computer is idle.
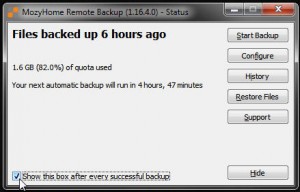
When Mozy completes a backup successfully a message will appear showing when the backup completed, and how much of your Mozy quota you are using. You can opt to not have this message appear after a successful backup.


